
How we build your veranda
An interactive 3D tour of the installation. Our own team fits most verandas in one to two days; look around, click on parts and change the roof, colour and size.
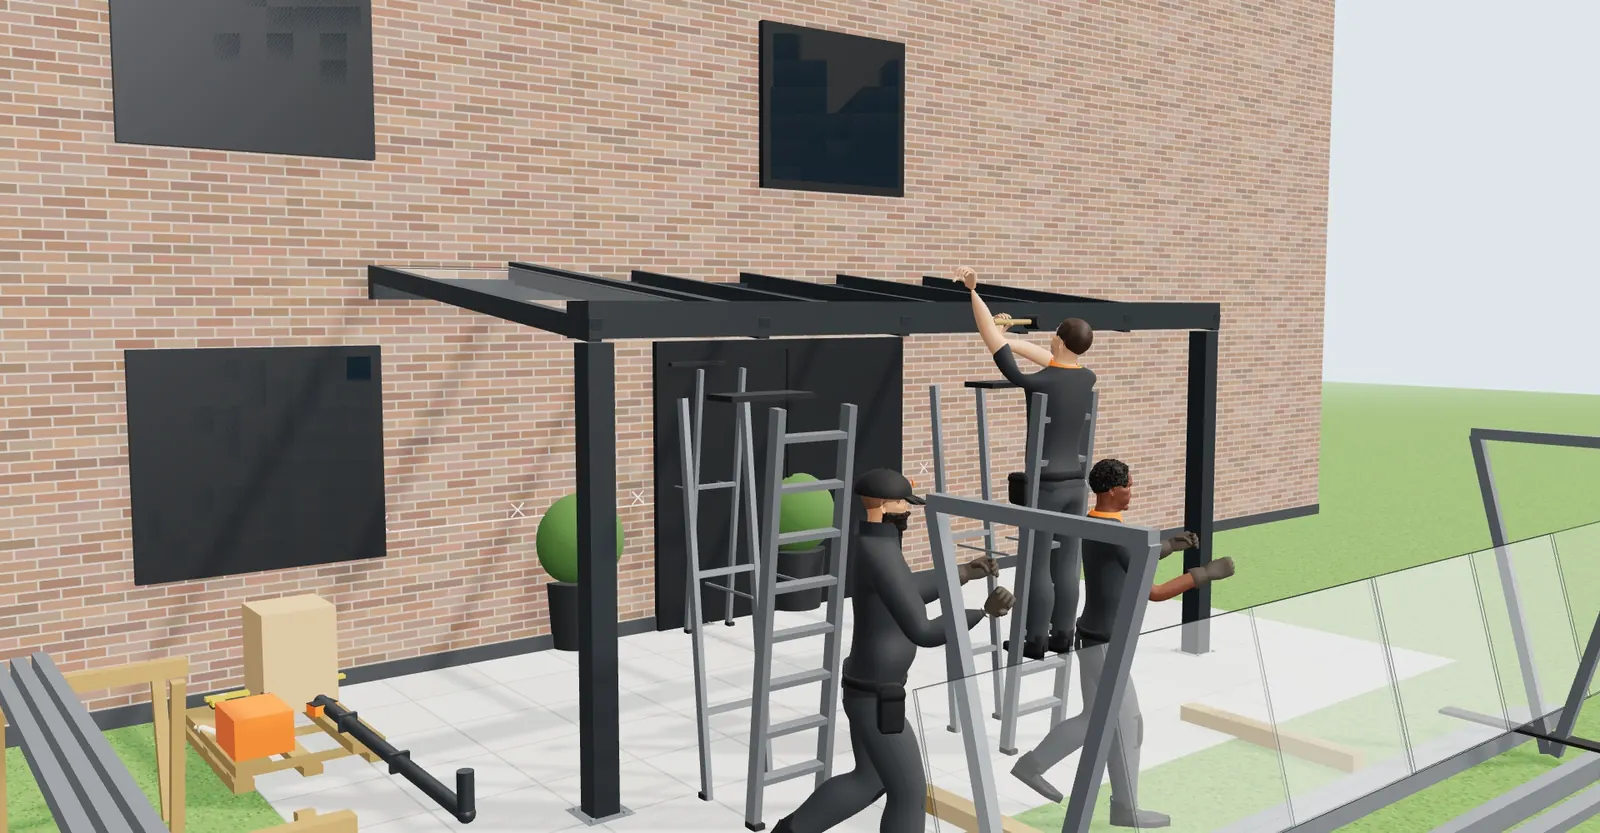
The 3D installation does not work in this browser. You can read the seven steps below.
You have reduced motion enabled; the 3D installation only starts when you want it to.
The installation in seven steps
- 1
Measuring
After your approval we measure everything precisely: the width and depth of the terrace, the height on the facade and the position of the posts. So you know exactly what you will get.
- 2
Wall profile
The wall profile is mounted level on the facade. The rafters of the aluminium frame will rest on it.
- 3
Posts and gutter
The posts stand on base plates on the terrace. The gutter is placed on top and levelled. The frame comes in anthracite, black or cream.
- 4
Rafters
The rafters slide one by one into the wall profile and rest on the gutter. They define the bays for the roof panels.
- 5
Roof panels
16 mm polycarbonate (clear or opal, UV-resistant) or 8.76 mm laminated safety glass is slid in bay by bay and covered with glazing caps.
- 6
Finishing
The downpipe is connected and the dimmable LED lighting fitted. If you choose them, the glass sliding walls go into their rails and the sun shading under the roof.
- 7
Hand-over
We go through everything with you and answer your questions. Most verandas are up in one to two days. You pay afterwards and have a 10-year warranty on product and installation.
An impression of the installation. The exact execution and order are decided when we measure at your home.
This is what your installation looks like. Want to know what it costs?
Request a quote without obligation. We respond within 24 hours, usually much sooner.